
*An enormous thanks to Behr for offering the paint for this transformation! My favorable opinion of beautiful, high-quality paint is 100% my very own. ? For extra info, see my disclosures right here.*
I wager you all thought I forgot about our grasp lavatory, huh? I didn’t. In the event you’re new to the weblog and don’t know the backstory right here, let me catch you up. Once we moved into our home, our grasp lavatory was means lower than cute. The bathe had this gross accordion door that I refused to bathe behind, so actually the very first thing we did after we moved in was rip it out.

{Bye bye, accordion door!}
It nonetheless wasn’t our dream grasp lavatory, however we weren’t able to do any main demolition but, so we hung up a bathe curtain, painted the partitions, and referred to as it a day.
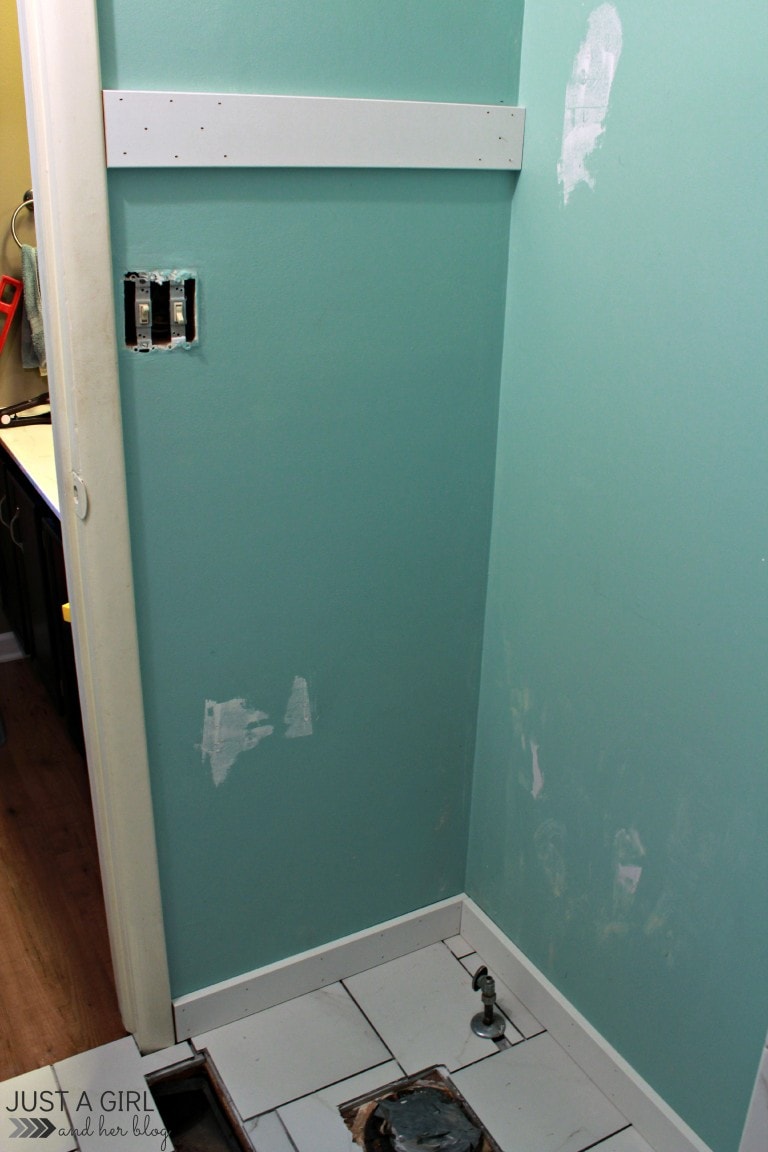
However nonetheless, the bathe insert was stained from the earlier proprietor, the linoleum flooring was icky, and it was only a unhealthy state of affairs all the best way round, so 16 loooonnnnnngggg months in the past, we tore out all the things, taking the toilet right down to the studs.

As excited as we have been to have a wonderful new lavatory, although, life occurred. We acquired occurring different initiatives, we had household occasions and holidays, and the toilet sat and sat and sat. Then in Could I shared some thrilling information: we had lastly gotten to the purpose the place we might begin tiling!

Woo hoo! It seems that tiling, even simply on this very small house, was a fairly tedious process. I’ve handy it to my hubby– he spent hours with the moist noticed making cuts and becoming all the things collectively good.

{tile put in; grout nonetheless must be utilized}
Lastly, although, the tile was up, and we started work on the opposite mission we wished to finish within the lavatory: board and batten! I’ve all the time cherished the look of b&b, and I knew it wouldn’t be a tough job on this small house. {Properly, that’s simple for me to say. Donnie did a lot of the set up! ? }
There are a gazillion other ways to method board and batten and a few gazillion extra tutorials on the market about it. {Imagine me, I believe I learn all of them!} We ended up combining bits and items of tutorials from Centsational Woman, The Home of Smiths, and Thrifty and Stylish to finish our transformation.
The Supplies
We went with items of pre-primed MDF for our board and batten. They have been cheap and straightforward to work with, they usually gave us the look we have been going for. Lengths will differ for every house clearly, however the identical width and thickness of boards would apply. We used…
- 3/4″ x 3 1/2″ pre-primed MDF boards for our base and prime
- 3/4″ x 2 1/4″ pre-primed MDF boards for the vertical battens
- 1″ x 2″ piece to cap off the highest and create a small ledge
- Caulking
- Nail gun + nails
- Spackling
- Paint of alternative
- Rollers and paint brushes
The Course of
Our course of for set up/portray was type of unconventional as a result of Donnie would work on putting in the board and batten within the evenings after work, and I might paint in the course of the day whereas the Cs have been napping, so we simply did what we might once we might and all of it labored out! He started by putting in the horizontal prime and backside 3 1/2″ boards, merely measuring and slicing them after which utilizing the nail gun and 16 gauge nails to place them into place.
Subsequent it was my flip to come back in and paint. We went with Behr Premium Plus Extremely Pure White in a semi-gloss end for the board and batten and Behr Marquee Silver Metropolis in an eggshell end for the wall shade.

It was good to have the ability to get in and paint earlier than the battens have been up so I didn’t must work round them. That is simply with one coat, and it was already trying good! {PS… My hubby, the paint snob, is just about obsessive about Behr’s Marquee line of paint. He had his personal portray enterprise for some time, so he has labored with all completely different manufacturers, and he’s discovered his new favourite!}

Subsequent Donnie started working putting in the battens. Determining the spacing was somewhat difficult in such a good house. I believed we’d house out the entire battens evenly, which is what we’d have finished if we have been working with an extended, straight wall. On this small space with a whole lot of corners, nonetheless, we approached it somewhat otherwise. We knew we wished to position a batten any time there was a transition from tile to wall, so we began with these. Then we have been capable of inform what number of battens would match on every wall, and distributed them evenly from there.
So on the wall under, we positioned a batten by the tile, one other one subsequent to the door body, and one within the heart, leaving 13.75″ on both sides of the center batten.

On the opposite aspect of the room, you’ll be able to see that we had a brilliant small wall that solely allowed for 7.5″ between battens, and we have been capable of cut up the marginally bigger wall into three sections with 9.75″ between the battens.

On the diagram under, you’ll be able to see which widths of boards we used the place:

The underside board is a 3/4″ x 3 1/2″ piece of MDF. Every of the battens is 3/4″ x 2 1/4″ MDF, and the board above the battens is similar because the board under, 3/4″ x 3 1/2″. Lastly, we created a small ledge with a 1″ x 2,” which Donnie first adhered with liquid nails for added power after which nailed in from the highest with the nail gun and barely smaller 18 gauge nails.
Donnie created a seamless look by making use of caulking, after which I patched the entire nail holes and utilized the ultimate coats of paint on all of the partitions and trim. Little tip when portray board and batten: use a mini curler! It made it a lot simpler to get in between the battens AND I didn’t have to fret about streaky brush marks on the board and batten as a result of the mini curler rolled the paint on completely. Having prime quality paint additionally helps with this! As soon as the entire portray was completed up, we had…

…our stunning board and batten partitions! I believe the Behr’s Pure White and Silver Metropolis actually make it pop!
I really like a very good earlier than and after, too, so let’s take a peek:

Wanting higher already! I’m so excited to be nearly finished with the toilet! We nonetheless have to complete grouting the entire tile, set up the bathroom, and add some fairly equipment, but it surely gained’t be for much longer now! Keep tuned to the weblog for the BIG reveal arising quickly! Have a beautiful week, mates!
Have you ever ever put in board and batten? What are your greatest suggestions?

*An enormous thanks to Behr for offering the paint for this transformation! My favorable opinion of beautiful, high-quality paint is 100% my very own. ? For extra info, see my disclosures right here.*
